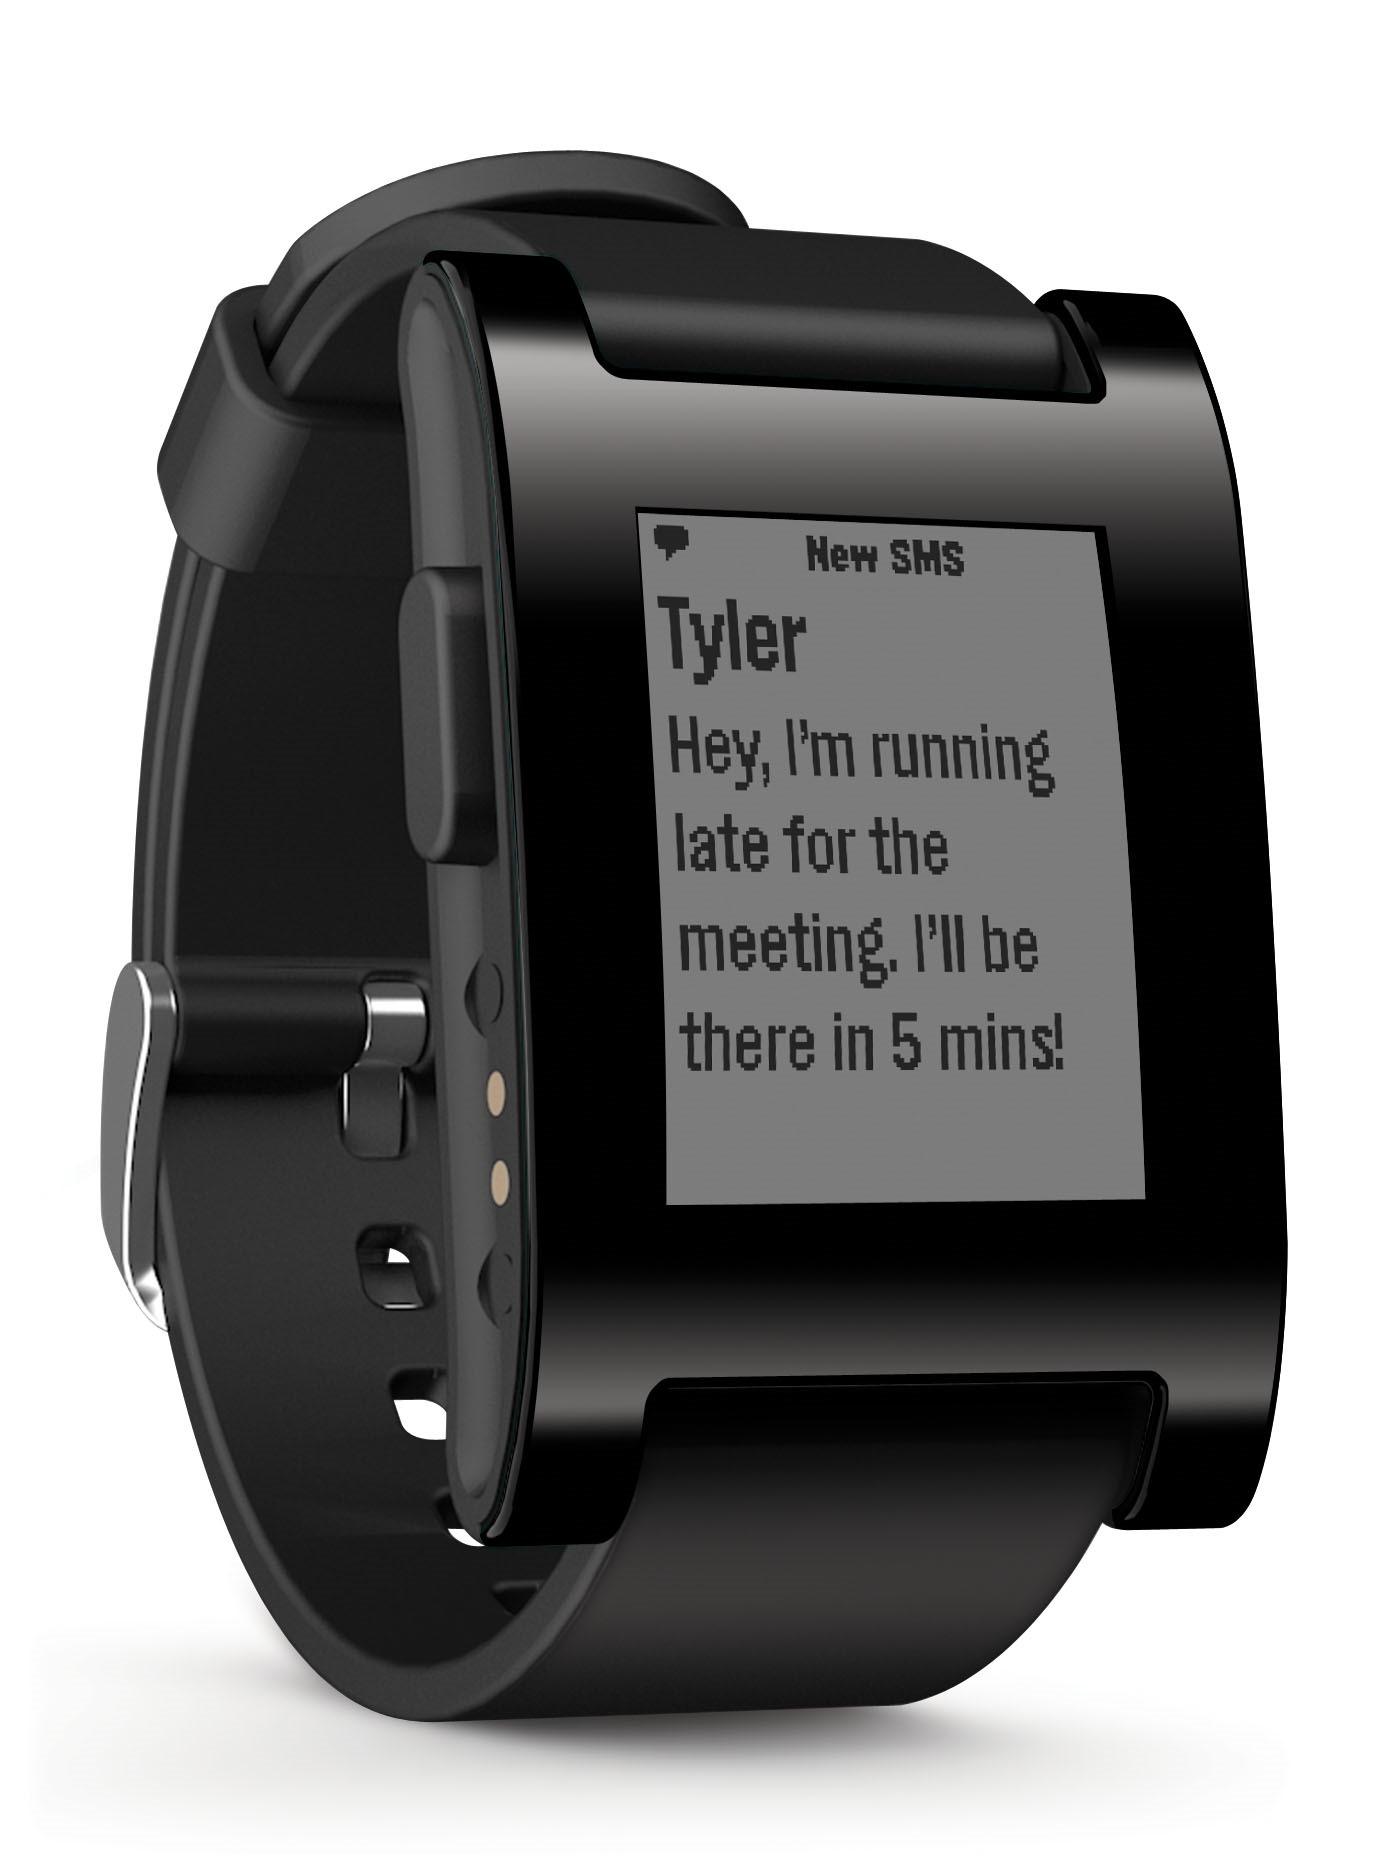
Another View Of The Pebble
Guest reviewer, Miles Witthaus on the Pebble.
Thanks for letting me try out the Pebble watch. It was definitely neat to give it a try. I think my biggest criticism comes with regard to the concept of a smart watch to begin with. It seems to me that the importance of a watch has in many ways decreased of late. We are almost always surrounded by the time given by our computers, cars, and most notably phones. Given such proximity of an iPhone, a wrist watch at best saves you the additional 2 seconds it would have taken to just check your phone, something many people have an incessant need to check anyway.
Of course despite the easy ability to check time elsewhere almost everyone in many industries would still consider their watch a necessity. I think that is largely due to a sense of tradition and class. It is in this respect I think the Pebble falls the shortest. In neither form nor function does it come anywhere close to something that could be worn in a professional setting. It looks more like (and with features like the ability to play “Snake” acts like) a childish, portable Gameboy than an expensive or respectable accessory to your everyday wardrobe.
With that said, I do think there is a niche market full of excited early adapters who would enjoy and benefit from a smart watch. I don’t think the Pebble is that device tough. There really weren’t any features that showed off the technological abilities in a way that made me think “wow” or make me want to show it off to my friends. Even the most basic features like the buttons that were placed to close together and didn’t go all the way down with ease made me think that little work had been put into really making the device into an enjoyable experience.
Maybe with better technology the smart watch will take off. For now though, an untraditional gadget for an accessory that’s all about being traditional just isn’t cutting it.
Miles Witthaus
Blender for 3D Modeling and Printing
At Votsh we use the Blender 3D modeling and animation tool to prototype designs and print models of our products on 3D printers. Blender is Open Source Software (OSS). It runs on Windows, Mac and Linux systems. The user interface is powerful. It may even be daunting to learn its many controls. It took me 1 solid week to get productive with Blender. Below are the shortcut and tutorial notes I took while learning Blender.
Blender Shortcuts
Starting, use Scene icon in right menu, Units, Metric
Selecting
A – Deselect all
B – Border select
Right-click object select/de-select
C – Circle select, ala paintbrush
Ctrl – Left Click – Lasso select
Scrolling
Shift-Mouse-Scroll-wheel
Working with Meshes
Control A, Scale
X – Delete
R – Make a mesh bigger
Tab – toggles edit/object, to view vertices
Edge select – little icon at top menu, in 3D view
Select menu -> Linked Geometry selects everything around a vertex
Select -> Inverse
Floating White thing, you didn’t know what it does, is a “manipulator”, when you selected some edges use the manipulator. Hold shift key when using the manipulator’s white selection band, to make fine changes
See http://www.youtube.com/watch?v=rJQ4UyrHZLw
Bend the edge of a cube mesh – Control B
3D Printing
Tab, A, W, Remove Doubles
Non manifold shapes, can’t print them in 3D
Edit mode, vertex select icon (top)
A – deselect all
space-bar, type: non manifold
space-bar, bridge to edge loops
http://www.youtube.com/watch?v=zHxs4uerHjw
Time 18:45, using bevels and pipes
Exporting an STL from Blender
Select the object and enter Edit mode (Tab). Select all vertices with A, then press W and select “Remove Doubles”. This merges any doubled up vertices that are sitting on top of each other.
Blender will triangulate your mesh when you export. Sometimes this can cause issues with smooth or curved parts of your model, so to check to see what it will look like, select all vertices and press CTRL-T.
Blender will only export the selected objects
Select all vertices in Edit mode and press CTRL-N and click Recalculate normals outside.
http://support.ponoko.com/entries/21531613-How-to-export-a-STL-design-file-using-Blender-2-6-
Shift D – Duplicate
Command = alt
Option = right click
Tab – Edit mode
In Edit mode
Box Select – B
Drag Select – C
A – Select All
Alt M – merge to center
Extrude – E
Size – S, then press 0
—
1 3 7 – front side top view
Z – Wire frame view
—
Making 3D Mickey
Drag object in Omnigraffle, export to svg
Blender: Select Info view, File, Import
Click on Curve object, then Object data
Geometry, change depth to 0.0125
Object>Convert To>Mesh from Curve
To clean up the mesh:
Mesh -> Faces -> Beautify Fill.
To remove redundant edges (and get an ngon), select the face area. Select the menu item Mesh -> Delete -> Limited Dissolve. set the angle very low to avoid loosing details of the shape, this will give you an ngon.
—
Create a box, can’t print it, walls are not thick, so
use Solidify Modifier (access from little wrench icon in right panel helper)
—
User preferences are in File menu halfway down
Choose Maya preferences, 2 places
—
Animation
Alt-R Clears Camera Rotations
Ctrl-P Parent the path to the empty/camera
Click on timeline, then i, to add a keyframe
Shift A – Add
Shift W – Specials
In Camera View
0 – Camera view
R – Roll
R X X – Vertical Pan or pitch
R Y Y – Horizontal pan or yaw
G Z Z – Dolly
Select both objects, then Ctrl T for track constraints
—
Plastic supply
ABS – for strength (red), leaches styrene into body, brittle, warps a lot, won’t print to scale, can do acetone vapor wash
PLA – for eating utensils and the like, (orange), corn, bio-degradable, not as long lasting, stiffer, nice tight tollerances
Nylon – (white)
Octave.com – good for ABS
FilamentSupply – low temperature PLA 220-225
Makerbot – temperature 230
Makerware, covert STL to print
Never use usb cable, use cards
Don’t set to ABS and load PLA, ok the other way
Turn ‘support’ on always
Infill and number of shells,
small 2-3 shells, 15-33% infill
large, 4-6 shells, 0-15% infill
most of strength comes from shells
infill makes the object strong while printing

We’re Hiring – Hardware Engineer
Votsh has an opportunity for a Hardware Engineer to design and layout an Arduino-based system. Votsh will manufacture horological machines based on the traditions of watch making. Our goal is to sculpt a set of creative, fashion-forward, technological products for modern men.
The internals of the watch will use Arduino software, Atmega328AU, Bluetooth BLE, and ePaper display tech. All this needs to fit into a mens watch case – the pc board will be small, round, and surface mounted. We need someone familiar with these circuits and can do board mechanical layout and schematic designs. You will be working directly with me (Frank Cohen, founder of Votsh) and together we will work through all of the issues.
While this is a paid position, depending on your flexibility there is start-up stock in the company available.
Your work will most likely contribute to the hardware designs as an open source project for the benefit of the Arduino community. Does it seem to you that there should be an Arduino kit with BLE?
Please reply to this posting or send an email to fcohen@votsh.com
Thanks!
-Frank Cohen